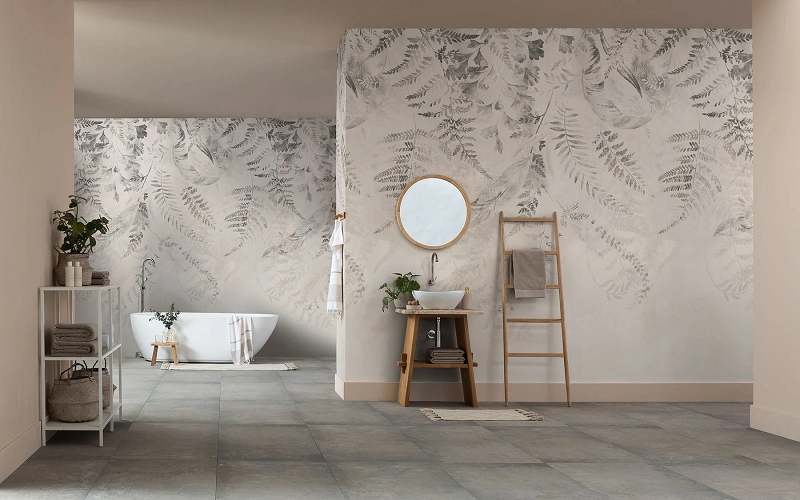
Installing Wallpaper in a House – Tips and Steps
Installing wallpaper can completely transform a room, adding personality, style, and a touch of elegance. Whether you’re going for a bold statement or a subtle enhancement, wallpaper offers a versatile solution to refresh your space. This guide will walk you through the essential steps of installing wallpaper, and the necessary wallpaper installation tools for a smooth and professional-looking finish.
Measure the Room
Accurate measurements are crucial for a successful wallpaper installation. Start by measuring the height and width of each wall you plan to cover. Remember to account for any doors, windows, or other features, subtracting their dimensions from your total wall area. To determine how many rolls of wallpaper you’ll need, refer to the coverage information provided on the wallpaper roll’s label. It’s a good idea to purchase an extra roll or two to account for mistakes or future repairs. With your measurements in hand, you’re ready to proceed to the preparation phase.
Prepare the Walls
Preparing the walls is a vital step that ensures your wallpaper adheres properly and looks flawless. Begin by removing any existing wallpaper, loose paint, or old adhesive residue. Thoroughly clean the walls to eliminate dust and grease, which can interfere with the adhesive’s effectiveness. Fill in any holes or cracks with spackle, and once it has dried, sand the surface until smooth. Wipe the walls with a damp cloth to remove any remaining dust and debris. Properly prepared walls provide a clean, smooth surface that is essential for a successful wallpaper application and a long-lasting finish.
Apply the Wall-Covering Primer
Applying a wall-covering primer is an essential step that creates an optimal surface for wallpaper adhesion. Choose a primer specifically designed for use with wallpaper and apply it evenly across the walls using a roller. This primer helps seal the wall surface, making it easier to position the wallpaper and allowing for easier removal if needed. Follow the manufacturer’s instructions for drying times, and allow the primer to dry completely before proceeding. A well-primed wall not only enhances adhesion but also helps to prevent issues such as shrinking or bubbling, resulting in a flawless and smooth application.
Lay Out the Wallpaper
Before applying the wallpaper, it’s crucial to lay it out correctly. Begin by unrolling the wallpaper on a flat, clean surface and inspecting it for any defects or damage. Measure and cut the wallpaper into manageable strips, adding a few extra inches at both the top and bottom for trimming purposes. Arrange the strips in the order they will be applied, ensuring that any patterns align correctly. This is particularly important if you are matching the wallpaper to other decor elements in the room. Taking the time to lay out and trim the wallpaper properly will save you time and reduce the risk of mistakes during installation.
Apply the Wallpaper
To start applying the wallpaper, begin at a corner or edge of the wall. Using a wallpaper brush or a sponge, apply the adhesive to the wall or the back of the wallpaper, depending on the type of wallpaper you’re using. Carefully position the first strip on the wall, ensuring it is straight and aligned with your measurements. Smooth out any air bubbles or wrinkles using a wallpaper smoothing tool or a clean, dry cloth. Continue applying the remaining strips, aligning the patterns and ensuring that seams are properly butted together. Trim any excess wallpaper at the top and bottom with a sharp utility knife for a clean finish.
Final Touches
Once all the wallpaper strips are applied, inspect your work for any imperfections or gaps. Use a seam roller to press down on the seams to ensure they are securely adhered. If necessary, touch up any areas where the wallpaper may have come loose or where seams are visible. Allow the wallpaper to dry completely, following the manufacturer’s recommendations for drying times. Once dry, clean up any tools or excess adhesive, and your room is ready to be enjoyed.
Final Thoughts
Installing wallpaper can be a rewarding DIY project that significantly enhances the look and feel of your home. By carefully following these steps—measuring the room, preparing the walls, applying primer, laying out the wallpaper, and making final touches—you can achieve a professional and polished finish. Remember that patience and attention to detail are crucial throughout the process. With the right preparation and technique, you’ll create a beautifully transformed space that reflects your personal style and elevates your home’s overall decor.


